Introduction
If you’ve ever wished for a personalized lip color that keeps your lips soft and shiny, this easy how-to guide is exactly what you need. Making your own lip balm using Vaseline and lipstick is one of the simplest beauty hacks you can try at home. It combines the moisturizing power of Vaseline with the color pop of your favorite lipstick, creating a hydrating, tinted balm perfect for everyday use. Whether you’re running out of lip balm or simply love DIY beauty, this tutorial will show you how to make lip balm with Vaseline and lipstick in just a few minutes.
Creating homemade beauty products has become a growing trend because it’s fun, cost-effective, and allows full control over ingredients. Store-bought lip balms can sometimes contain chemicals or artificial fragrances that irritate sensitive skin. With this DIY method, you only need two ingredients — Vaseline and lipstick — and a small heat source to melt and blend them. The result is a smooth, tinted lip balm that nourishes your lips while giving them a hint of color.
The Science Behind Vaseline and Lipstick
Before jumping into the process, it’s useful to understand why this combination works so well. Vaseline, or petroleum jelly, is known for its intense moisturizing and protective properties. It forms a barrier that locks in moisture, preventing lips from drying out or chapping. Lipstick, on the other hand, provides pigmentation and texture. When blended together, the Vaseline softens the lipstick and dilutes its color slightly, creating a creamy balm that glides easily over the lips.
This mix results in a lip balm that’s both nourishing and attractive — perfect for anyone who wants hydration with a hint of color. Plus, it’s completely customizable. You can experiment with different lipstick shades to match your mood or outfit.
How To Make Lip Balm With Vaseline And Lipstick
To get started, you’ll need a few basic items from your vanity or kitchen. The process is safe, beginner-friendly, and takes less than 10 minutes from start to finish.
Gather Your Ingredients and Tools
You’ll need:
-
A small amount of Vaseline (about one tablespoon)
-
A small piece of your favorite lipstick (¼ inch is enough)
-
A heatproof bowl or spoon
-
A small container or lip balm pot
-
A microwave or double boiler
Make sure your tools are clean and dry to avoid contamination. If you don’t have a special lip balm container, you can reuse an old lip balm tin or a small jar.
Mix and Melt
Place the Vaseline and the lipstick in a small heatproof bowl or spoon. Microwave for about 15-30 seconds, or until both ingredients begin to melt. If you’re using a double boiler, let them melt slowly over low heat. Stir continuously with a clean stick or small spoon to ensure even blending.
The mixture should have a smooth, liquid consistency. If it appears too thick, add a bit more Vaseline; if too sheer, add more lipstick. This step allows you to adjust the color intensity and texture according to your preference.
Cool and Store
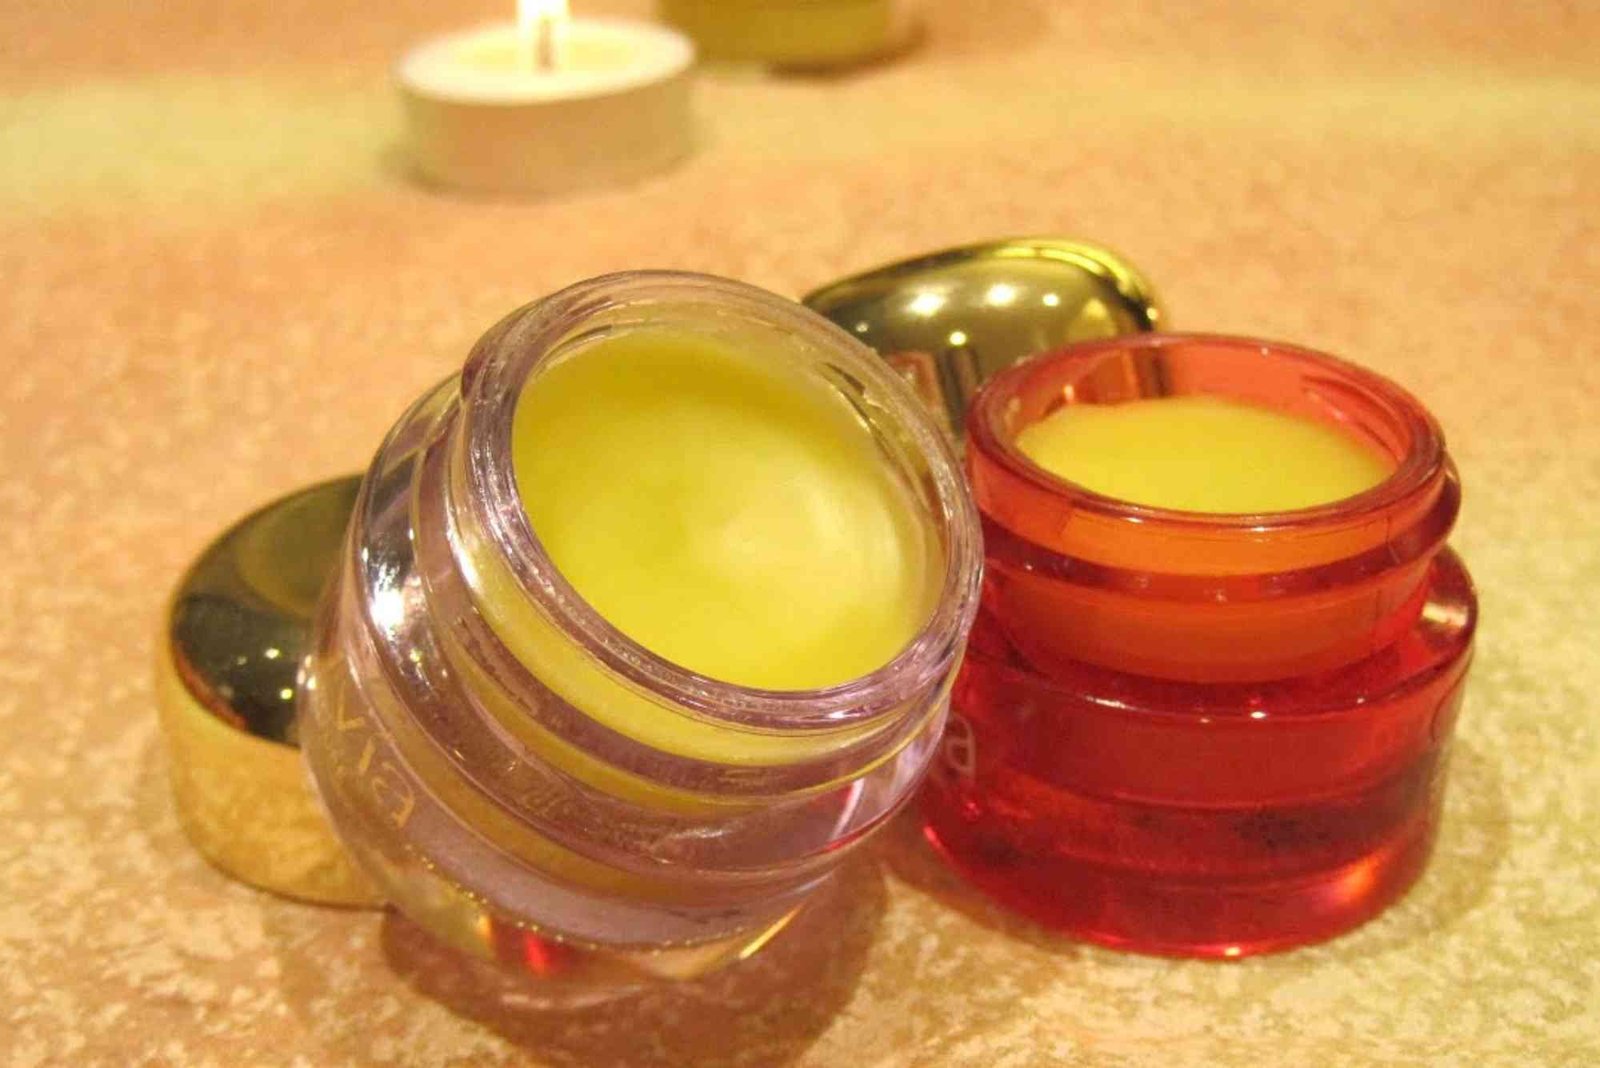
Once your mixture is well combined, pour it carefully into your chosen container. Let it cool at room temperature for a few minutes, then refrigerate it for 10–15 minutes to solidify. When it hardens, you’ll have your very own tinted lip balm ready to use.
The best part? You can make multiple shades using different lipsticks. Try blending colors to create custom tones — from subtle pinks to bold reds. This simple DIY not only saves money but also gives you creative control over your beauty routine.
Tips for a Perfect DIY Lip Balm
To make your homemade lip balm even better, here are some practical tips:
Use high-quality Vaseline to ensure a smooth, moisturizing base. Avoid flavored or medicated types, as they may affect consistency. Choose lipsticks that are creamy and well-pigmented for best results. Matte lipsticks can make the balm too dry, while glossy ones mix more easily. You can enhance your balm with a drop of vitamin E oil or coconut oil for extra hydration. To add a pleasant fragrance, mix in a tiny amount of vanilla extract or essential oil. Always test a small amount first to make sure it doesn’t irritate your skin.
By following these simple steps, you’ll get a soft, glossy, and moisturizing balm that feels luxurious but costs almost nothing to make.
Why Make Your Own Lip Balm?
Making your own lip balm isn’t just a cost-saving trick — it’s also about embracing natural and sustainable beauty practices. Many commercial lip products include synthetic dyes, parabens, or preservatives that can cause allergies or dryness. With this DIY method, you know exactly what’s going onto your skin.
It’s also a great way to recycle and repurpose old lipstick shades that you no longer wear. Instead of letting them sit unused, you can transform them into a fresh lip balm that suits your daily style. Additionally, it’s eco-friendly — you’re reducing waste and minimizing the need for extra packaging.
Creating your own balm also gives a sense of accomplishment. It’s a simple, creative act that combines beauty and self-care, and it can be a fun project to do with friends or family.
Common Mistakes to Avoid
When making lip balm at home, there are a few mistakes to steer clear of. Don’t overheat the mixture; Vaseline melts quickly, and too much heat can damage the lipstick pigments. Avoid adding too much liquid oil, which may prevent the balm from solidifying properly. Always use clean containers to ensure hygiene and prevent bacterial growth.
Another common error is using too much lipstick, which can make the balm stiff and overly pigmented. Remember, balance is key — the goal is a soft tint that enhances your natural lip color.
Storing and Using Your Homemade Lip Balm
Store your balm in a cool, dry place, away from direct sunlight. It usually lasts for several months, depending on the ingredients used. Since Vaseline acts as a preservative, it helps extend the shelf life naturally.
To use, simply apply a small amount with a clean fingertip or lip brush. You’ll notice that it glides smoothly and leaves a light sheen that lasts for hours. Reapply whenever your lips feel dry or when you want a subtle color boost.
If you make larger batches, consider gifting them to friends. Homemade beauty products make thoughtful and personalized presents that show care and creativity.
Variations and Creative Add-Ons
One of the best parts about learning how to make lip balm with Vaseline and lipstick is that you can easily experiment with different ingredients to customize your results. For instance, you can add a pinch of shimmer for a glossy look, or blend in cocoa powder for a natural brown tint.
For an extra moisturizing formula, include a few drops of almond oil or honey. If you prefer a solid balm, reduce the Vaseline slightly or add a small amount of beeswax. These variations let you adapt the recipe to your skin’s needs and personal taste.
FAQs
Can I make lip balm without heating Vaseline and lipstick?
Yes, but melting helps blend the ingredients evenly. You can mix them manually, though the texture might be less smooth.
Is Vaseline safe for lips?
Absolutely. Vaseline is dermatologist-approved and creates a moisture-locking barrier that keeps lips hydrated and soft.
Can I use tinted lip gloss instead of lipstick?
You can, but lip gloss may make the balm too runny. Lipstick gives better texture and color stability.
How long does homemade lip balm last?
Typically, it lasts 3–6 months when stored in a cool, dry place. Avoid dipping dirty fingers to extend its shelf life.
Can I add fragrance or essential oils?
Yes, but use only a drop or two of skin-safe essential oils like lavender or peppermint to avoid irritation.
Making lip balm at home is more than just a beauty experiment — it’s a self-care ritual that celebrates creativity and practicality. With just two ingredients, Vaseline and lipstick, you can craft a tinted balm that hydrates, protects, and enhances your natural beauty. It’s affordable, customizable, and perfectly aligns with sustainable beauty trends.
Now that you know how to make lip balm with Vaseline and lipstick, try creating your own shades and share them with friends. You’ll not only save money but also enjoy the satisfaction of crafting something uniquely yours.
For more beauty inspiration and DIY tutorials, check out this Related Beauty & Fashion article. You can also explore the Beauty & Fashion section for expert tips, product reviews, and self-care ideas. Want to deepen your knowledge of skincare and cosmetics? Learn more from trusted beauty experts and resources.